You know that feeling when you see a pair of perfectly distressed jeans in a store window, but the price tag makes you cringe? I've been there. The good news is you can get that same lived-in, cool-girl vibe without dropping a hundred bucks. Learning how to distress jeans at home is easier than you think, and it lets you customize the rips, frays, and tears exactly where you want them. Whether you want a subtle worn look or full-on shredded vibes, this guide will walk you through every step.
What You'll Need Before You Start
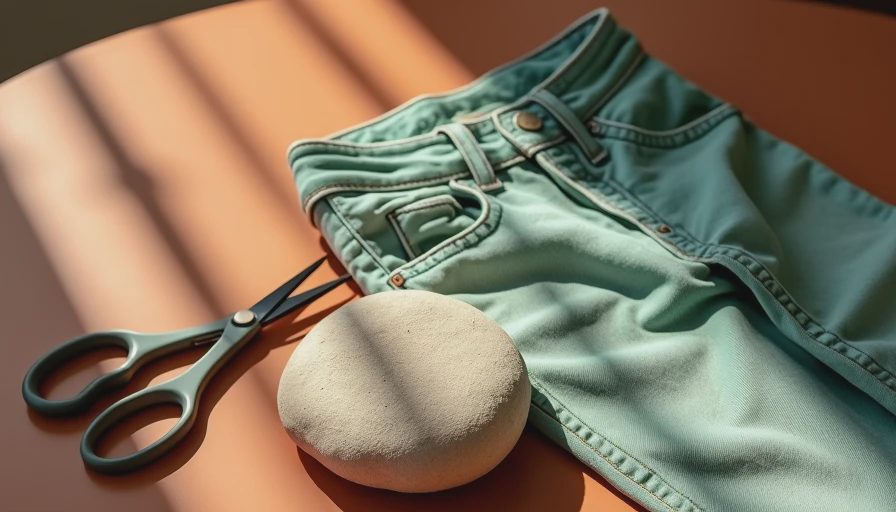
Before you go full DIY on your favorite jeans, gather your tools. You'll want a pair of denim scissors or sharp craft scissors, a seam ripper, tweezers, sandpaper or a pumice stone, a box cutter or razor blade, and chalk or a fabric marker. Optional but helpful: a pair of pliers and a small wire brush. Picking the right jeans matters too. Thicker denim holds distressing better than stretchy skinny jeans, though you can still work with those. If you're using an old pair you already own, make sure they fit well—distressing won't fix a bad fit.
Step 1: Map Out Your Distressing
Put on the jeans and mark where you want rips and frays with chalk. Common spots are the knees, thighs, and just above the hem. Think about where natural wear happens. You don't want too many holes, or your jeans will look like a prop from a zombie movie. Start with two or three areas. For a balanced look, don't put rips at the same height on both legs—offset them a bit. Take a step back in the mirror and adjust until it feels right.
Step 2: Create the Frayed Hem
A frayed hem instantly gives jeans that vintage, slouchy look. Use scissors to cut the hem straight across at your desired length. Then, use tweezers to pull out the white horizontal threads from the cuff. Be patient—this takes a few minutes per leg. Once you've pulled enough threads, use a wire brush or your fingers to tease out the fringe. You can also use sandpaper along the cut edge to soften it. The result is a soft, uneven hem that looks natural.
Step 3: Add Rips and Tears
For classic ripped knees, place a piece of cardboard inside the leg to protect the back. Use a box cutter to make small horizontal cuts, then use the seam ripper to carefully pull the blue threads out of the middle. The white vertical threads should remain, creating a ladder effect. Want larger holes? Cut a slit with scissors and use tweezers to pull the threads away from the sides. Then use sandpaper to fray the edges. For a more distressed look, make a few smaller rips nearby.
Step 4: Soften and Wash
After all the cutting and sanding, your jeans might feel a bit stiff. A wash cycle will soften them and make the distressing look more natural. Turn the jeans inside out, toss them in a delicates bag, and wash on cold. Air dry or tumble dry low. Once dry, check the rips—if they're too perfect, wear them for a day, sit on hard surfaces, and let your movements add extra wear. The more you wear them, the better they get.
Final Styling Tips for Your DIY Distressed Jeans
Now that you know how to distress jeans at home, it's time to style them. Pair ripped jeans with a simple white tee and sneakers for an effortless daytime look. Add a blazer and heels for a night out. The key is to not overdo accessories—let the jeans be the statement. Also, keep the rest of your outfit clean and a bit polished to balance the undone vibe. And remember, cute is easy, but the mood is the hard part. Your DIY distressed jeans will have that mood.
Common Mistakes to Avoid When Distressing Jeans at Home
Even with the best intentions, it's easy to go overboard or end up with a look you didn't intend. Here are three pitfalls to watch for when you're learning how to distress jeans at home. First, cutting too much fabric at once. It's better to make small snips and then enlarge the hole gradually. You can always cut more, but you can't undo a giant gash. Second, using the wrong denim. Super stretchy jeggings don't hold frayed edges well—they just pucker. Stick to 100% cotton or a high-cotton blend with minimal stretch. Third, forgetting to protect the back of the leg when cutting. A piece of cardboard inside prevents you from slicing through both layers, which would ruin the jeans. Take your time, step back frequently, and stop when you think you've done enough. Your jeans should look naturally worn, not like they survived a barbed wire fence.
So grab an old pair of jeans and start cutting. You'll end up with a unique piece that no one else has, and you'll have saved a bunch of money. Plus, there's something satisfying about wearing a pair of jeans that you destroyed yourself—in a good way.